Application of tape-in extensions
Applying tape-in hair extensions
It has never been so easy to have long hair! With our Tape-in extensions You can create beautiful hair in just 5 steps.
Simply work according to the sandwich principle. This means you separate a strand that should be as thick as the Extensions Strand, and apply one strand of your tapes from the top and one from the bottom. Make sure that both the top and bottom strands are the same distance from the scalp.
To ensure the extensions stay securely in place, use our mini hair iron; it's perfectly designed to attach our tape-ins.
Especially the first time, you may have trouble applying the extensions correctly to the back of your head. It simply takes a bit of practice. In this case, it's best to consult a trusted hairdresser or a skilled friend.
Tape-in extensions – a step-by-step guide
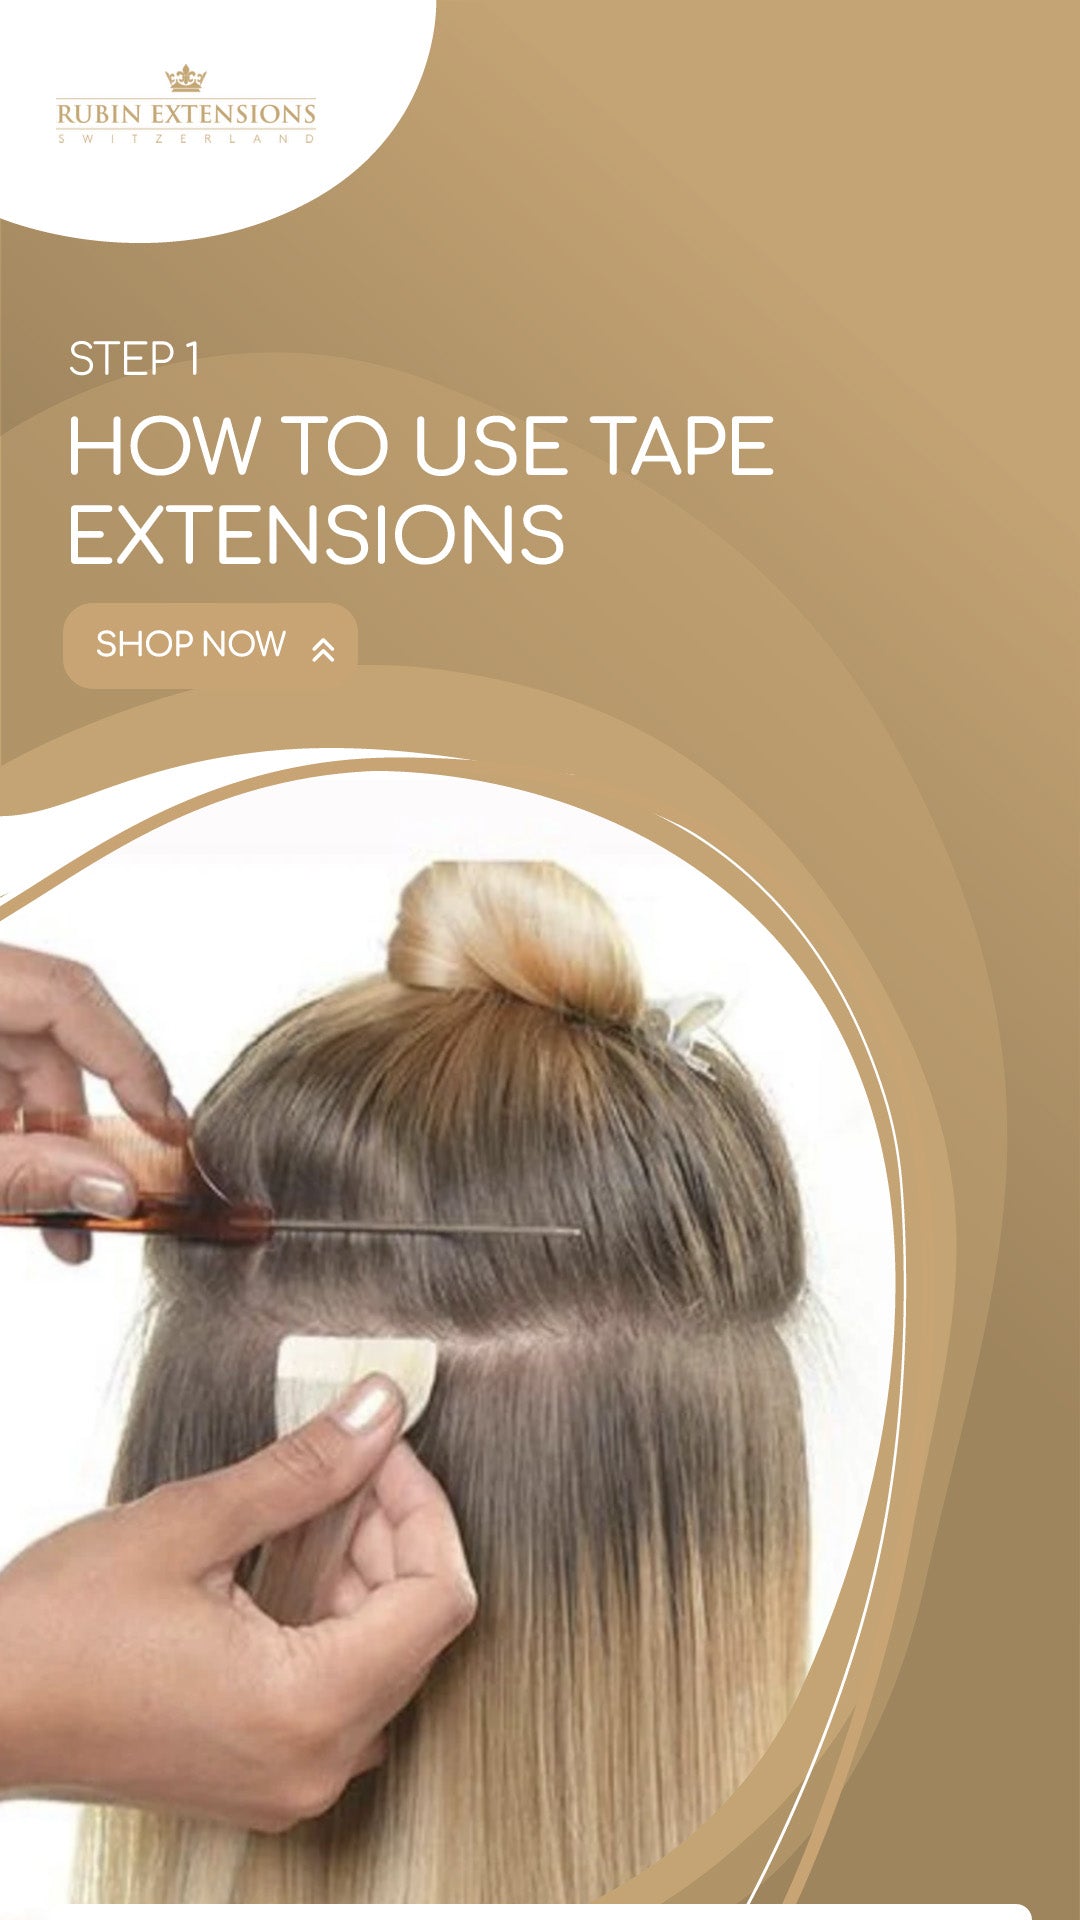
STEP 1
Use a comb to part the top section of your hair and pin it up so that it doesn't get in the way of the next step.
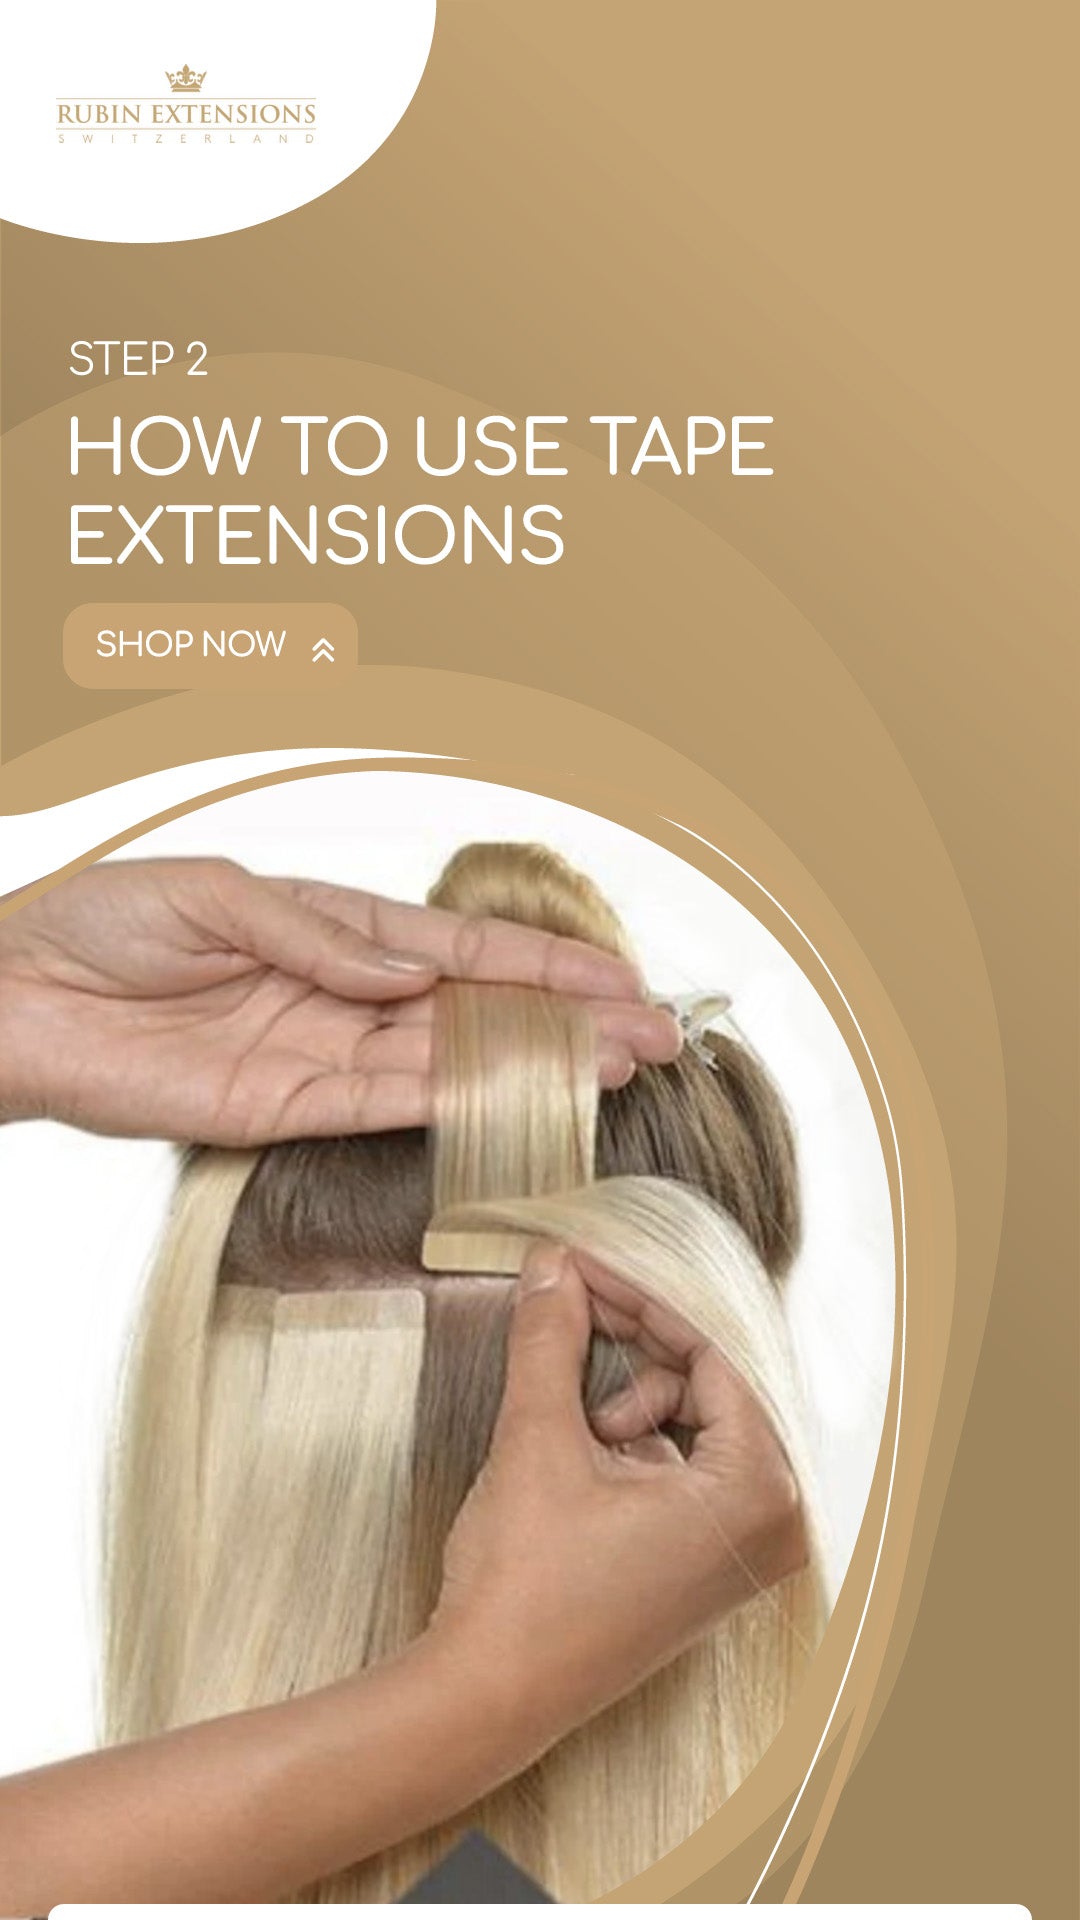
STEP 2
Take a strand of your Tape-in Extension Set and stick them to the top of your parted hair. The gap between the tape and the scalp should be about 2 millimeters. Here, and also with the bottom strand, make sure to only stick the tapes to the directly adjacent hair.
STEP 3
Take another strand and glue it to the underside of your natural hair strand. Here, too, the gap should be about 2 millimeters from the scalp for an even finish. Then let the pinned-up hair down.
STEP 4
Following the method from steps 1 to 3, first work from bottom to top on the back of the head and then attach the tape-in extensions to the sides.
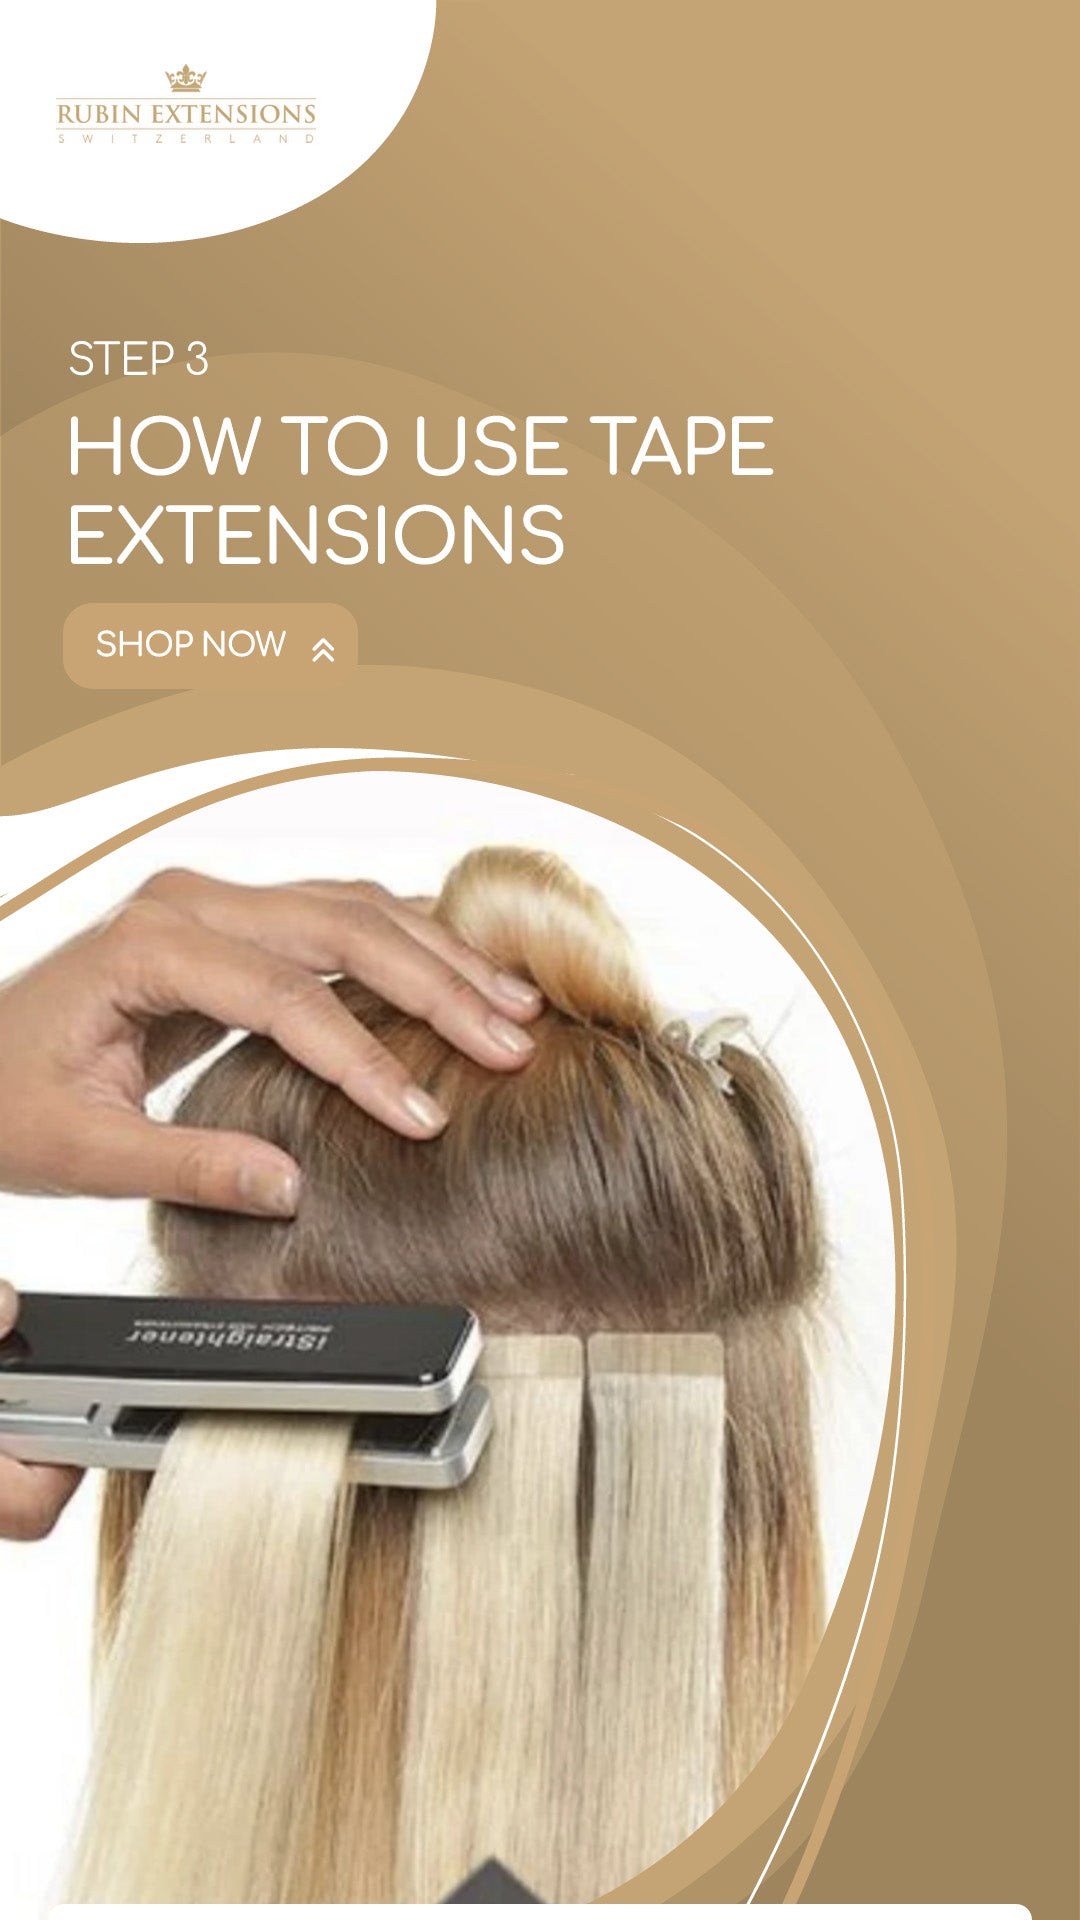
STEP 5
You should place a maximum of two rows of hair between the sandwiches, or even better, just one. You also shouldn't place the tapes too close to the scalp, as this will impair their hold. A gap of around 5 mm is ideal. Then lightly weld it with a hair iron at high temperature.